Robotic Ping Pong Ball Launcher
EECS/BioE C106A Final Project: Group 6
Project maintained by jclay99 Hosted on GitHub Pages — Theme by mattgraham
Implementation
Hardware
For our robot to be able to launch a ball into a bin, we used the pressurized air available in lab as well as created a cardboard launcher for our ball that we taped to the gripper of the Sawyer. We connected the pressurized air tube to the cardboard launcher, and created a secondary tube that extended up from the launcher to drop ping pong balls in.
Software
We implemented our robot to shoot a ball into a bin placed some distance away in 3 parts: scanning (sensing), trajectory calculation (planning), and aiming/launching (actuation).
For scanning, we use the Sawyer arm’s right hand camera to locate the AR tag attached to the bin. We coded our Sawyer arm to move through up to 3 positions that covers about 180 degrees around the base of the robot. Placing the arm in a near 45 degree position above the horizontal relative to the base, once the AR tag is found the arm stops its sweep and proceeds to trajectory calculation. It is important to note that because manipulating the arm affected the orientation of our right hand camera so it could no longer see the AR tag on the bin, we used only measurements from the arm’s upright scanning position to determine the Sawyer’s final position; that is, the robot views the AR tag only once when deciding its movement.
For trajectory calculation and aiming/launching, once the AR tag is located, we use forward kinematics to move two joints - j0, the base joint, and j6, the wrist joint - of the arm to accurately aim the launcher to shoot the ball into the cup. We use physics calculations to calculate the two thetas necessary to move the arm to the desired position, discussed in the “calculations” section.
Our robot first calculates and proceeds to some theta_0 for j0 from the scanning position while setting all other joint values to 0 radians - this turns the arm so it faces towards the AR tag in the XY plane relative to the base. It then performs a secondary calculation to find some theta_6 for j6 - this turns the wrist of the Sawyer so the launcher is positioned at some angle in the positive Z direction based on our trajectory equation. Using forward kinematics again to travel to theta_0 and theta_6 while all other values are 0 radians, the arm is accurately positioned to launch the ball into the cup. We simply drop the ball into the launcher now and watch it go!
In short, our implementation can be summed up by this flowchart (blue = scanning, yellow = trajectory calculation, red = aiming/launching):
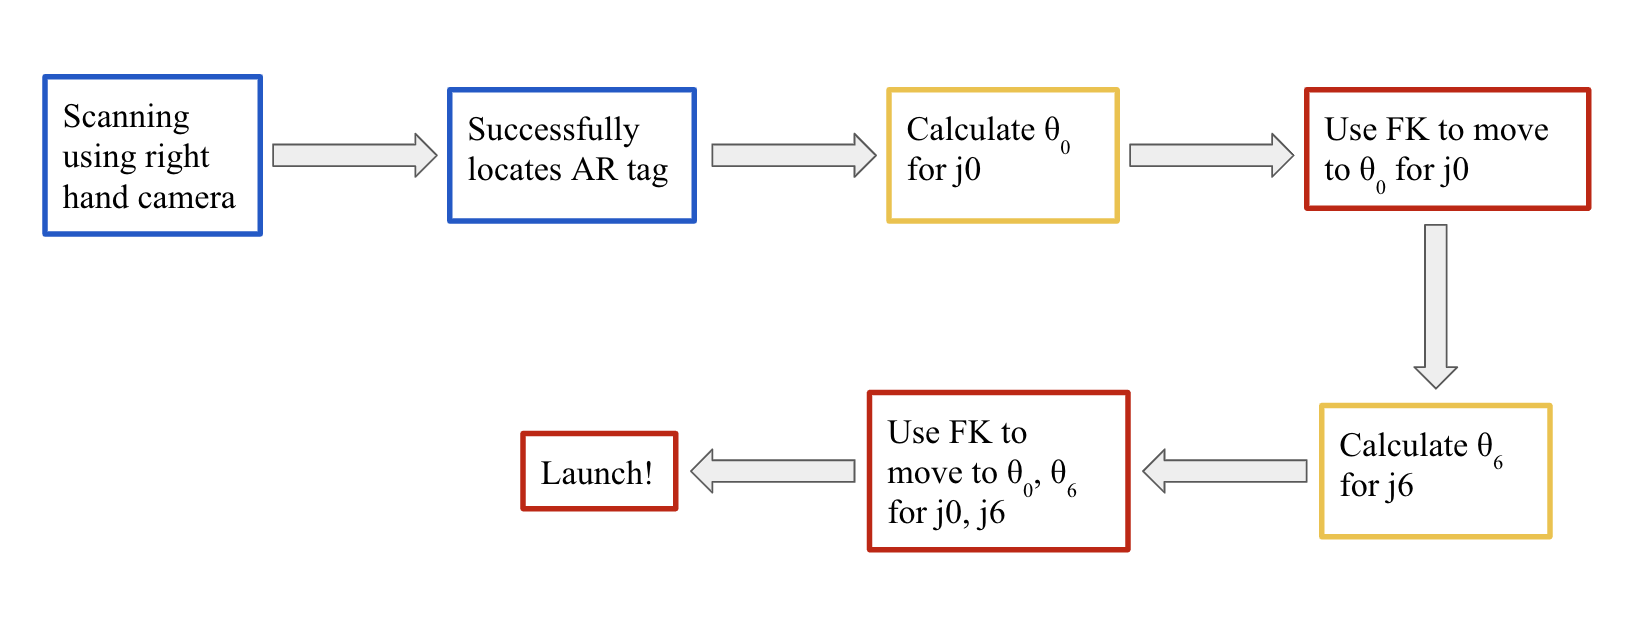
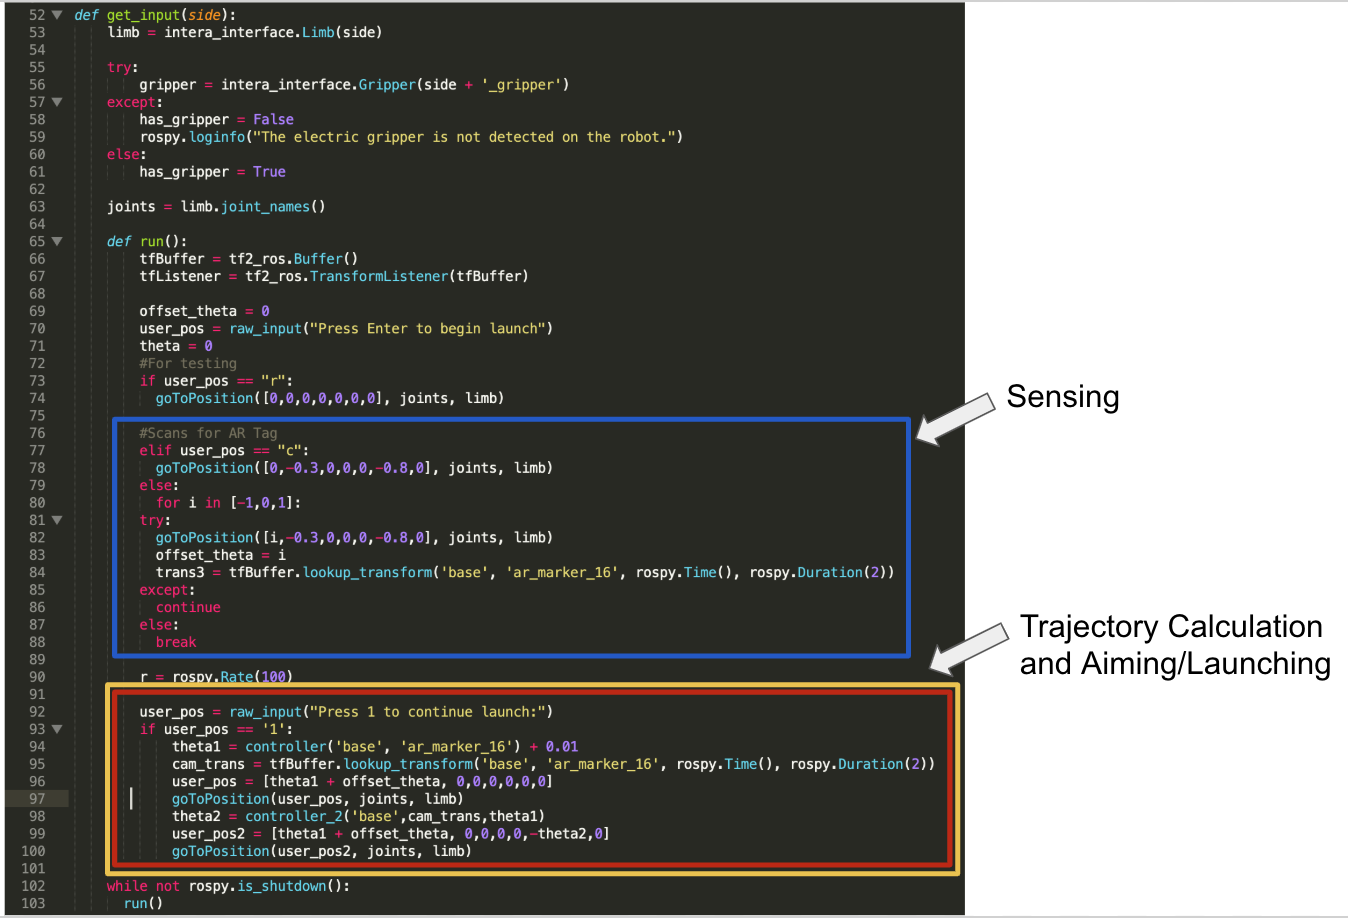
Below is also the code that our flowchart represents.
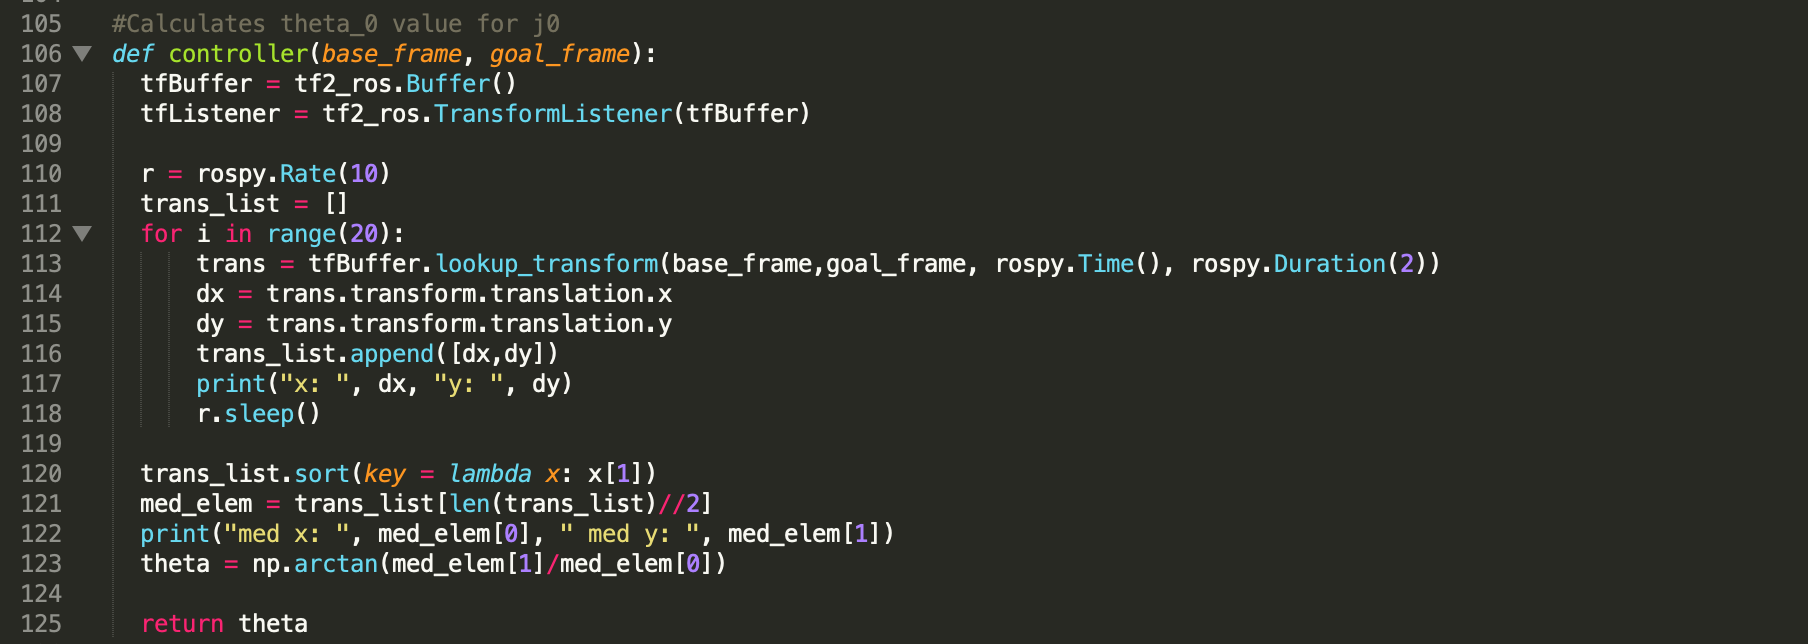
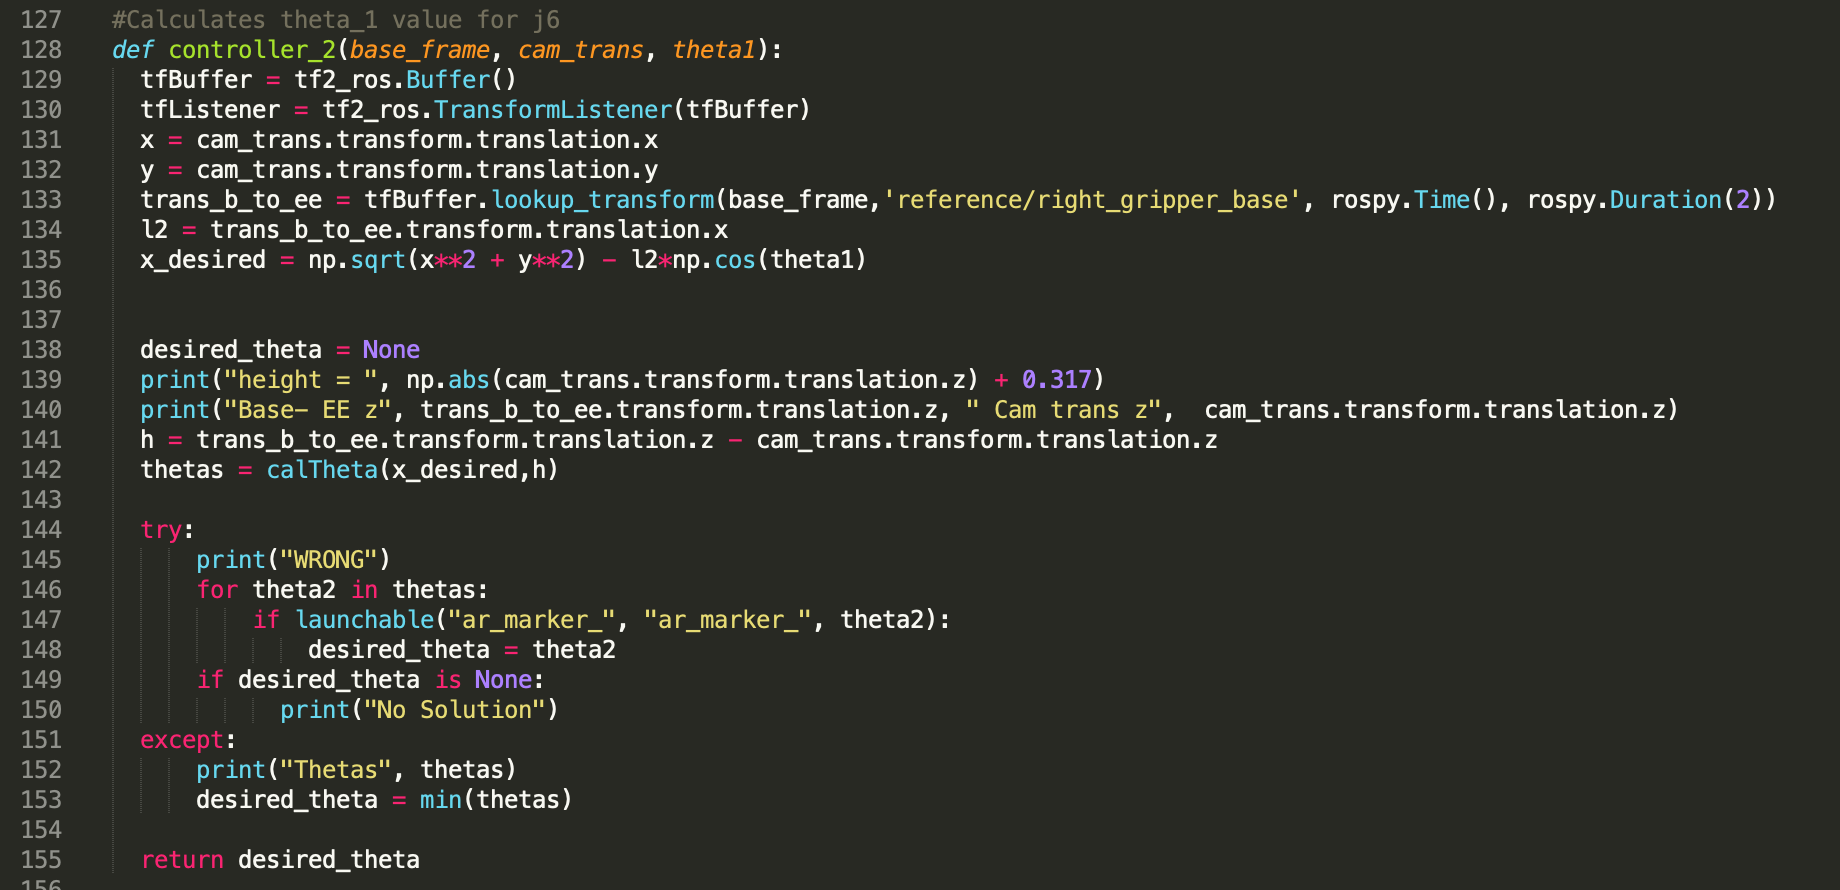
And finally, our code to calculate theta_0 and theta_6 values.